At The Twelfth Fret Repair Shop, we are asked to address a wide range of issues, from normal wear and minor adjustments to catastrophic damage.
One of the surprisingly common events that brings instruments to us is a broken headstock. This can happen for a number of reasons – from falling some distance on to a floor, or just from a case falling over with an instrument inside.
Despite how bad a break may look, there can be ways to effectively repair the damage and bring the instrument back to life. In this set of photographs, we’ll look at one of the common ways of repairing a broken headstock, which we call a ‘Head Splice’, since we splice new wood in place of the shattered wood, reshape the new wood to match the original design, and refinish it.
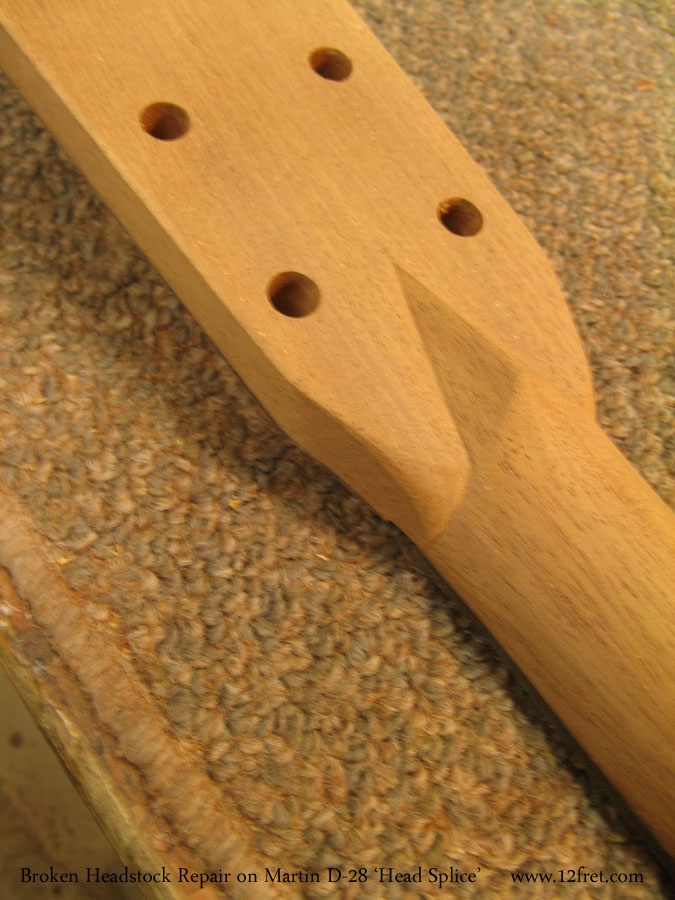
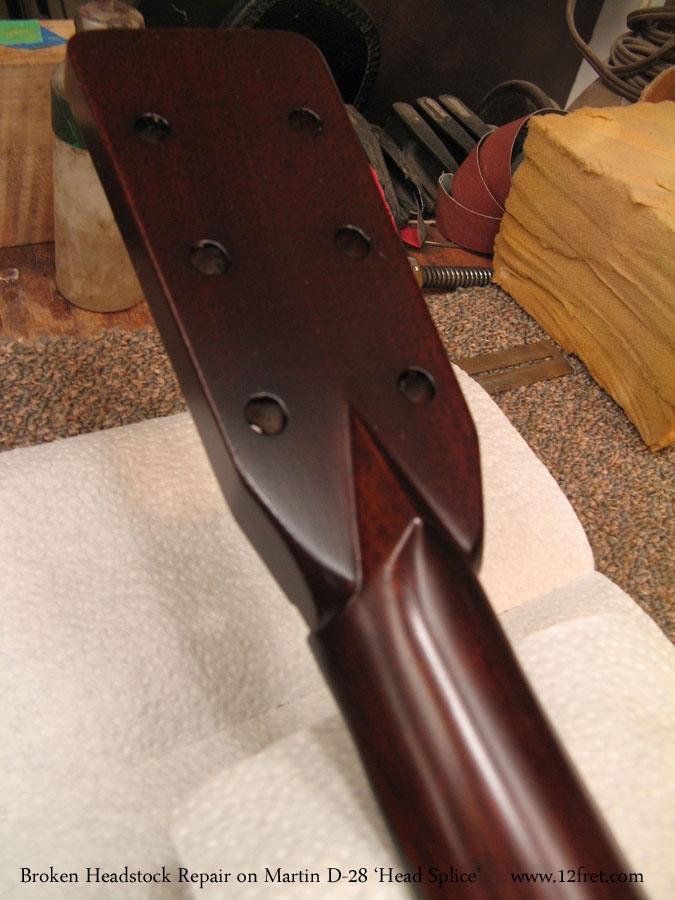
These two photos show the start and finish of the repair.
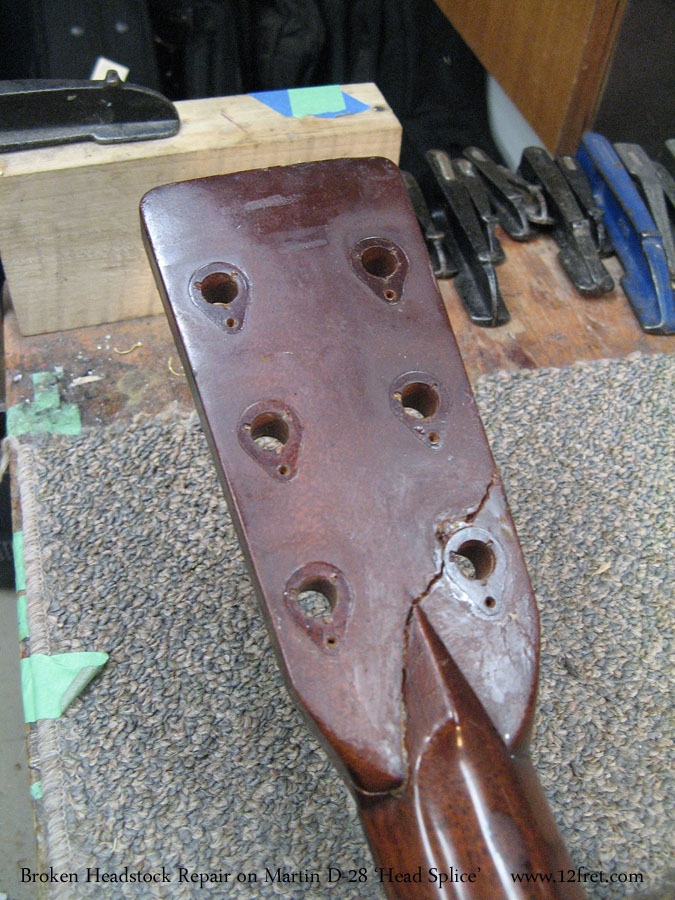
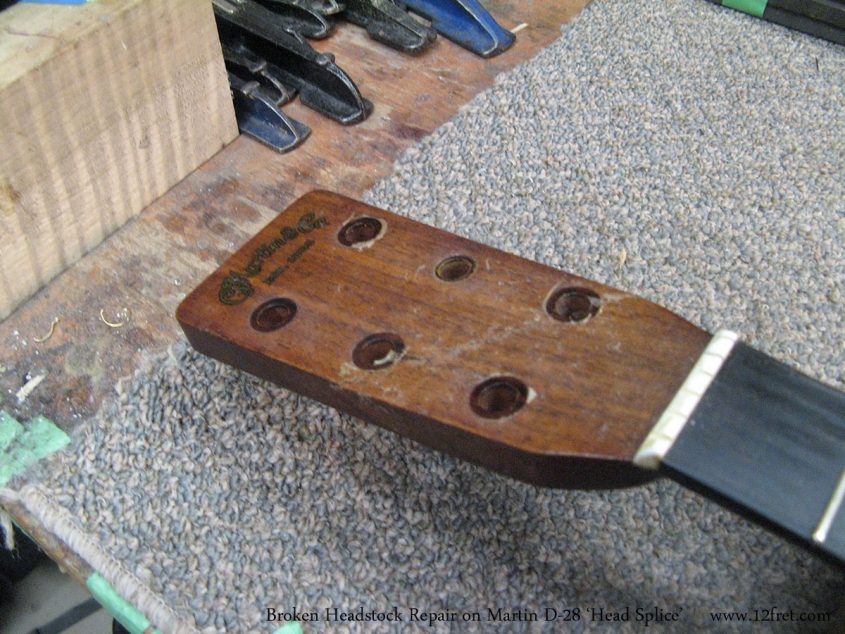
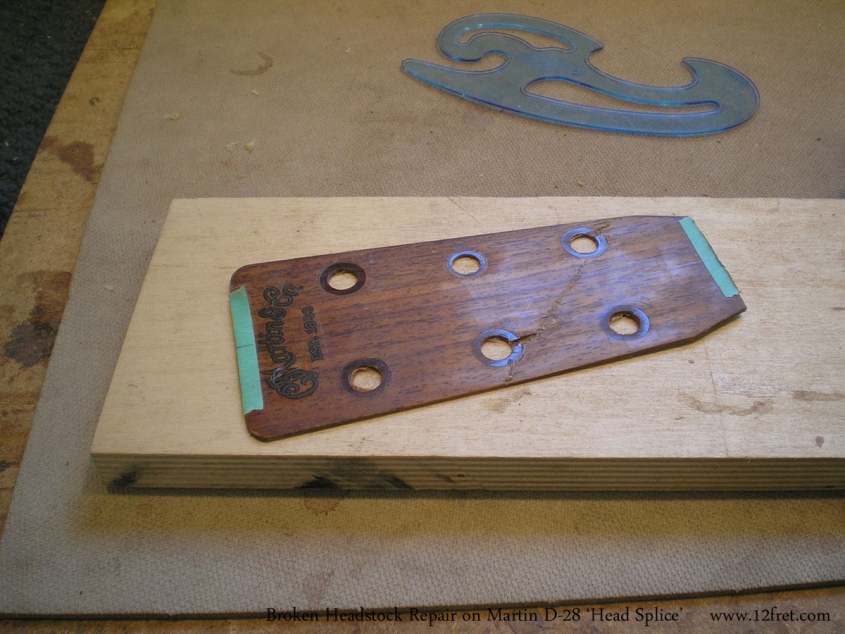
In these first two photos, we see a Martin D-28 with a badly broken head. A crack runs from the rear treble side of the nut up and across to the top of the low E tuning gear, while on the front of the headplate, there’s a crack from holes for the the A to the high E tuning gears. In these photos, the repair process has already begun with the pieces being glued together. But, though they are glued and line up, they have no strength. However, this does allow us to recover and reuse the head plate.
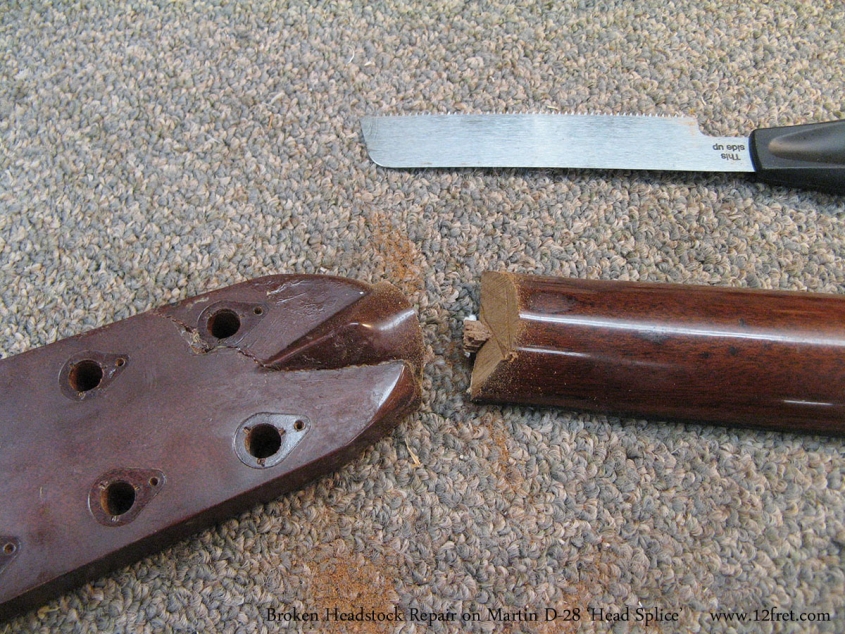
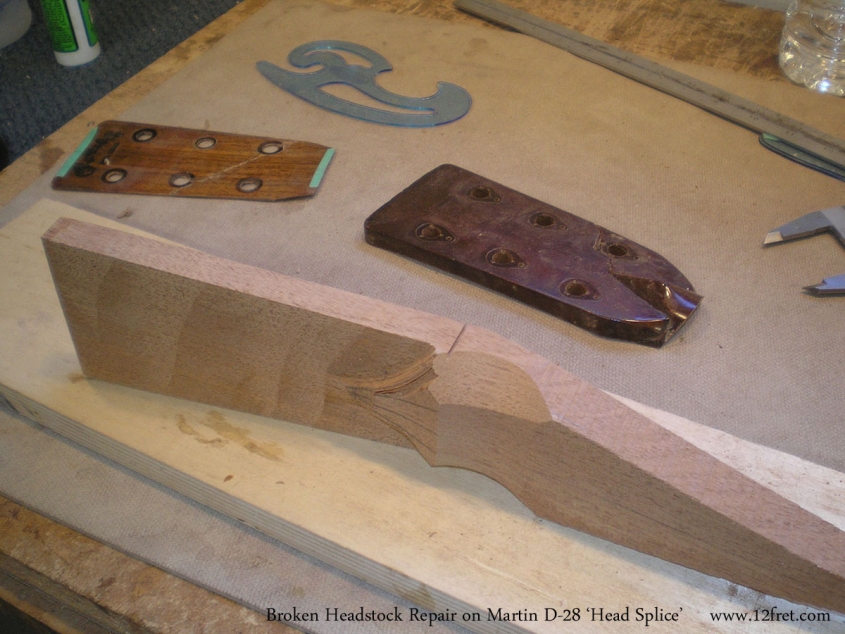
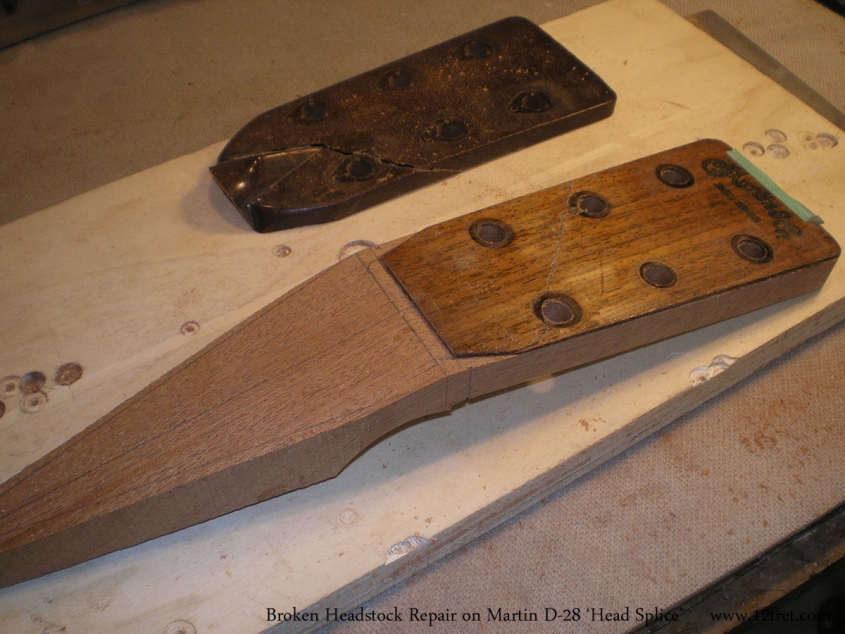
In the next photos, the headstock is removed with a small saw. The cut is made to save both the end of the fingerboard and the headplate. The headplate is then removed from what was the headstock using a bandsaw. The headplate will be re-used and the back of the head becomes a reference template.
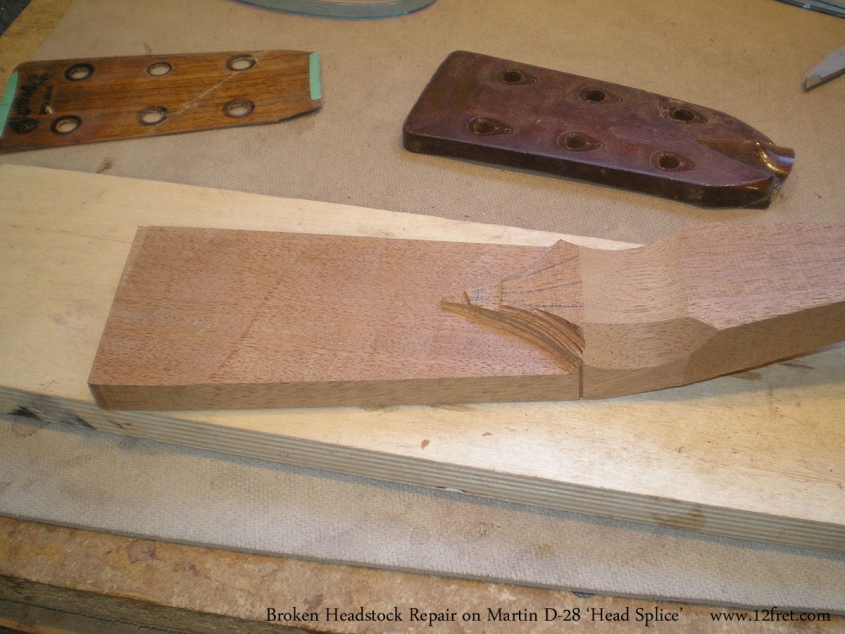
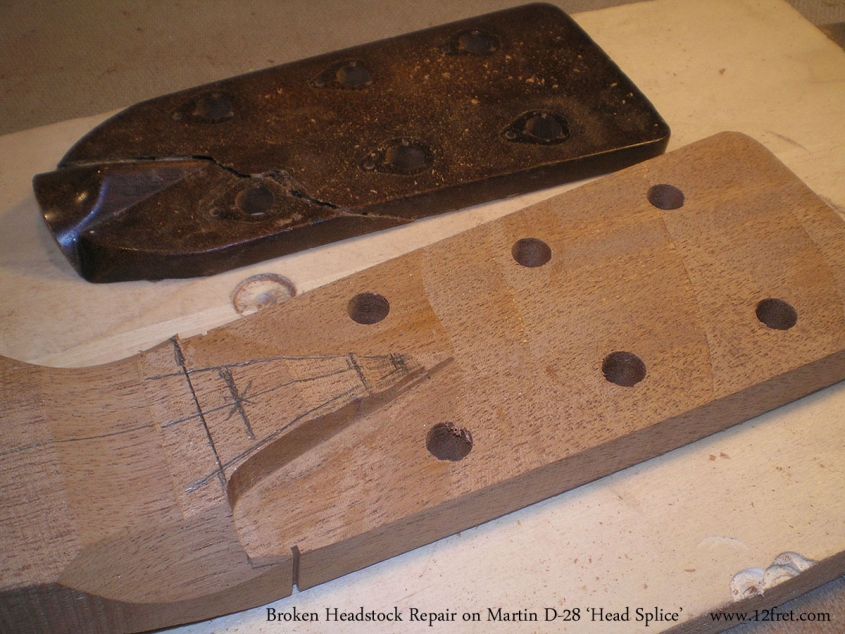
Next we see a new head blank being prepared. It’s made from the same material as the original neck, mahogany. The blank is selected and oriented to allow the greatest grain length at the vertex of the angle. At this point, the blank has only the roughest outlines of its final shape.
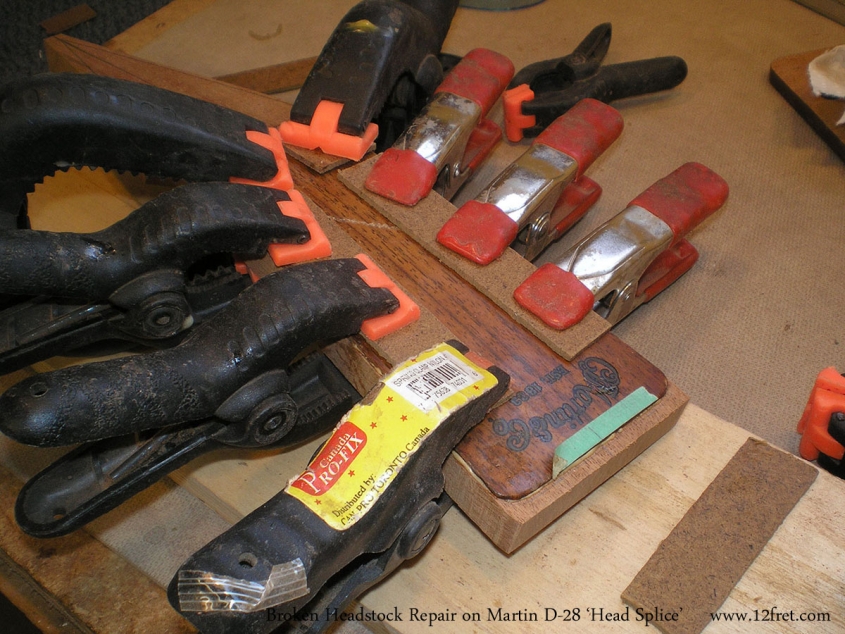
Here the headplate is glued to the new head blank.
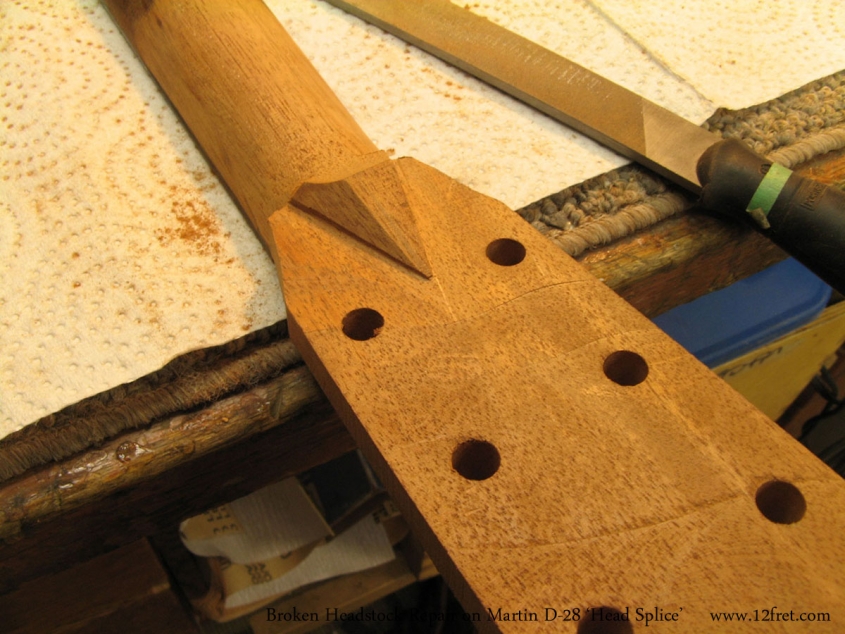
Once the headplate is on, what’s left of the rear of the head is used as a reference for shaping the volute – the raised section that’s supposed to provide some strength.
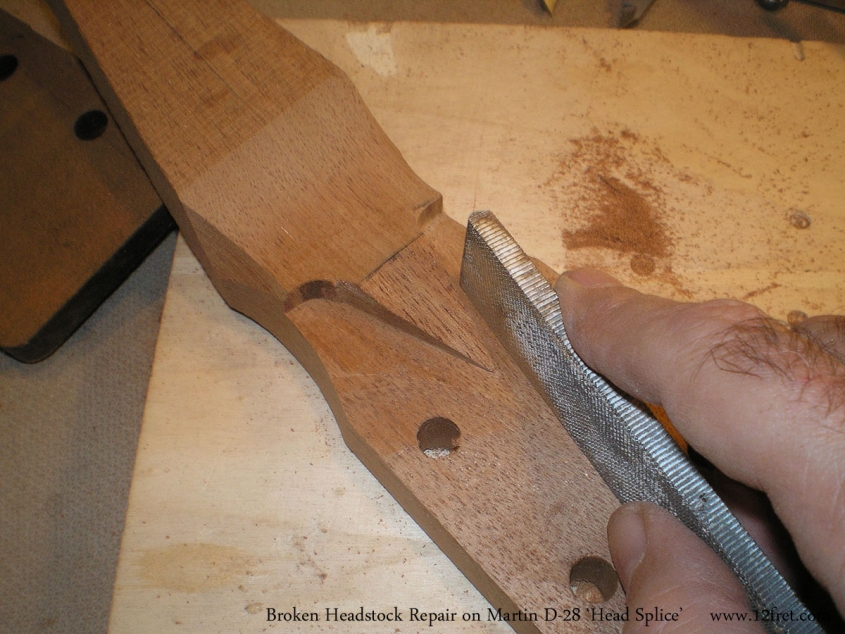
Now, the blank is starting to look more like a head, with excess wood removed.
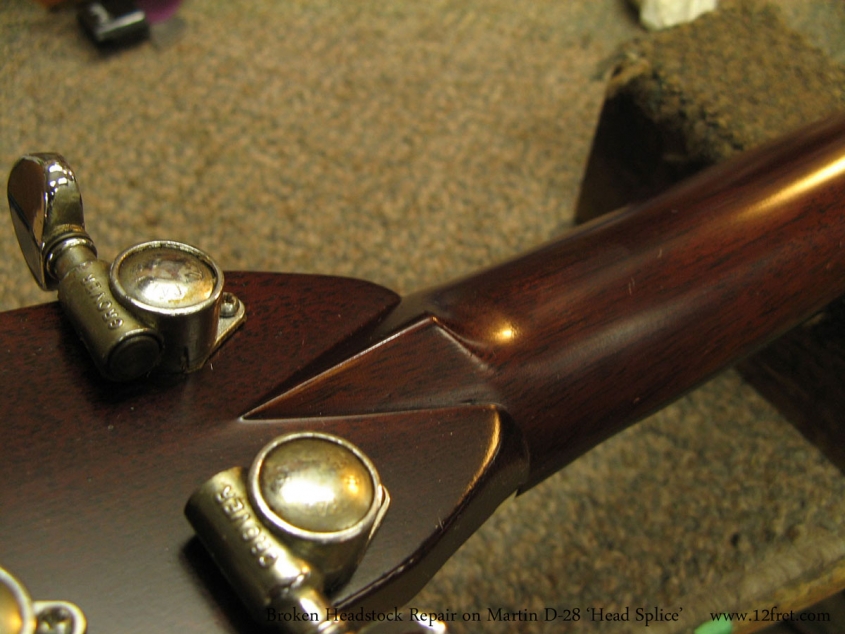
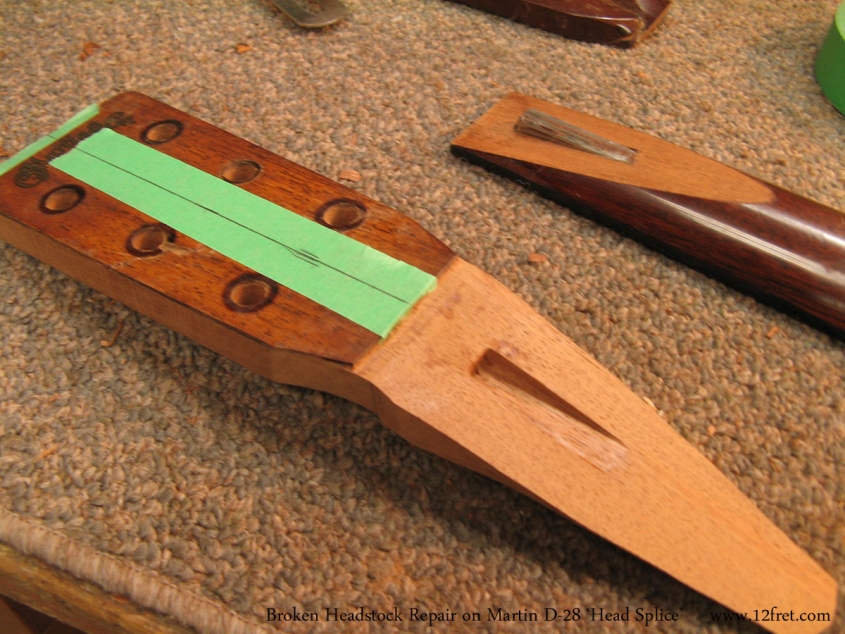
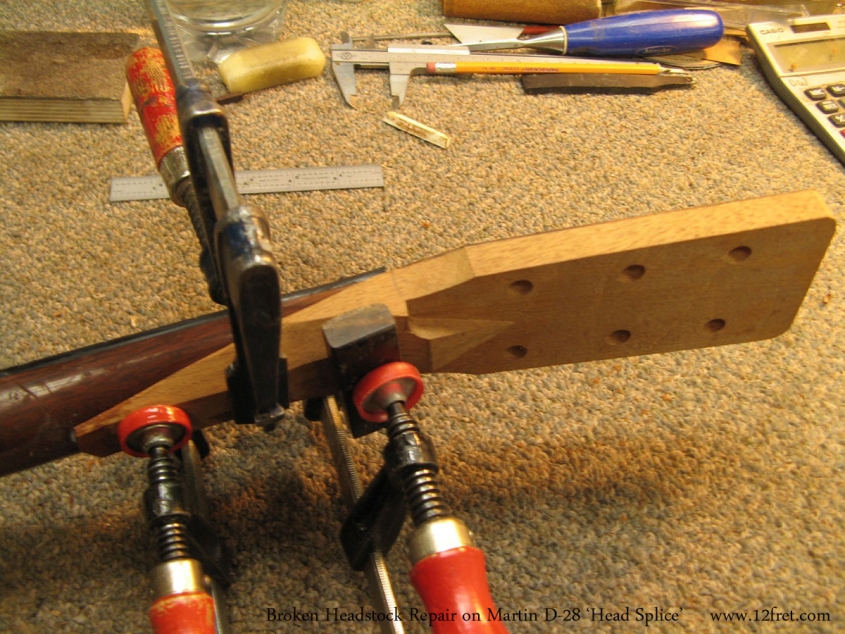
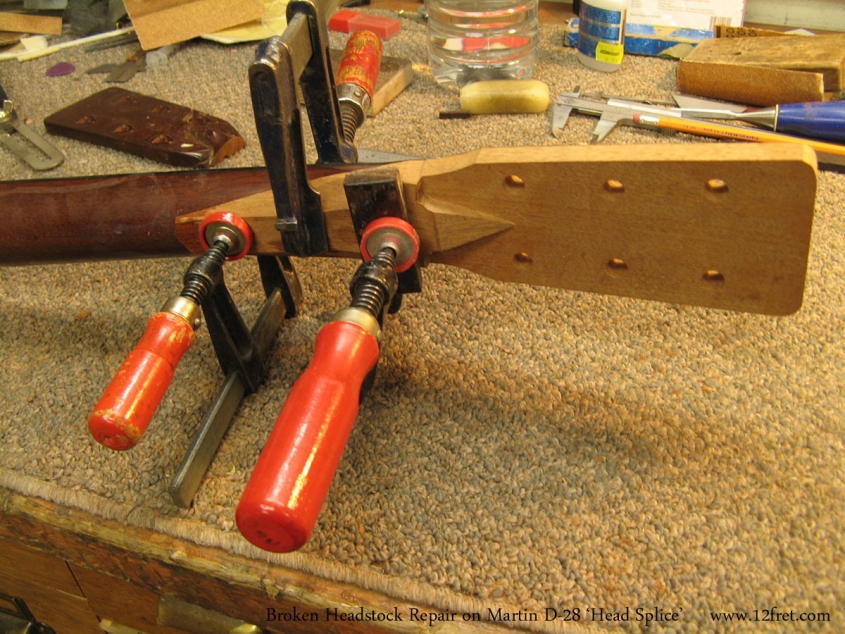
With the head basically shaped, the neck itself is cut back to provide a smooth gluing surface, and the new head is spliced on.
This is starting to look like a guitar again! The excess wood on the neck has been roughly shaped to the original neck profile.
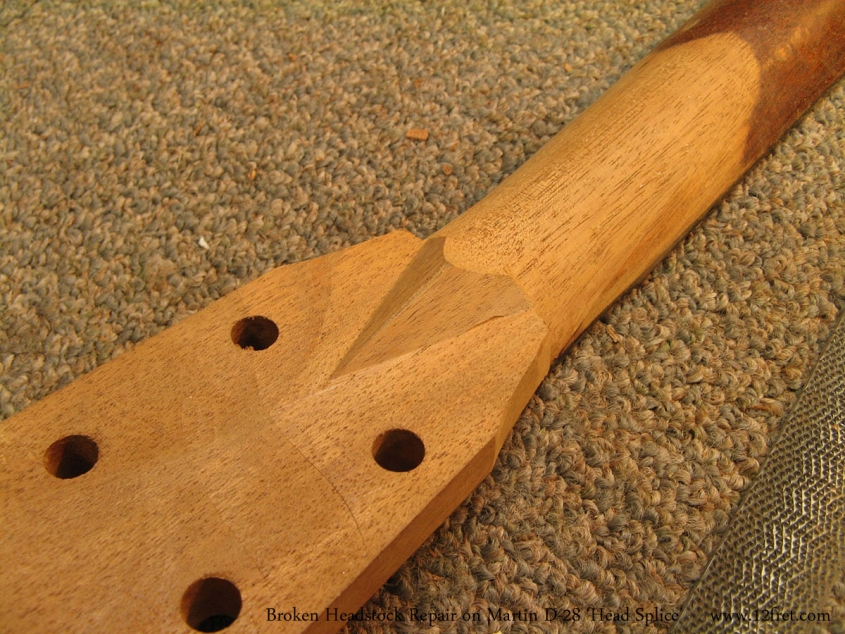
In this photograph the volute has been shaped correctly. This repair is in the last stages!
And finally, the repair is fine sanded and finish is applied, in this case nitrocellulose lacquer tinted to match the colour of a vintage Martin guitar.
Here’s the finished repair with the tuners back on.
At this point, the damage to this guitar has been completely repaired and it’s ready for many years of playing.
The Head Splice type of repair is often stronger than the original because the material for the splice is selected to allow for a long section of grain in the highest-stress area, at the nut where the head tips back. In traditional angled-head designs, the grain at the vertex is often quite short and so is prone to breakage. Some manufacturers recognise this by using a scarf joint to attach the head during production, and this is significantly less prone to breakage. It also results in less waste wood, because the neck blanks are flat and don’t have to account for the angled head.
This is one of the many repairs performed at The Twelfth Fret Repair shop. We’ll be bringing you more examples in the future.
Photographs by Gordon Barry at The Twelfth Fret Repair Shop.
