The Twelfth Fret Repair Shop: Setting up a Strat Trem, Part 3 – Action Adjustments
Welcome back to The Twelfth Fret’s Repair Shop!
We’re taking a tour of a Fender Stratocaster trem setup. In Part 1, we took a general overview of the Strat trem as a system, with a few details about the components.
In Part 2, we upgraded the tuners to a locking set, cleaned up the bridge and the nut – basically everything that the string touches – and restrung the guitar.
Now, we’re going to go through the rest of the action adjustments. These action adjustments are a normal part, but not all of a setup; for now we’re not going to look at the electronics.
“Action” refers to a collection of things that combine to give the strings a particular feel. The installation of a particular set of strings, the truss rod adjustment that controls the lengthways arch of the fingerboard – the ‘bow’ or ‘relief’, the nut height, the saddle heights and any effects from springs in a vibrato or trem system all influence how playing the instrument feels. Whether the feel of the action is ‘right’ or not is subjective and very much related to the physical technique of the player.
It’s important to note that the setup tasks follow the sequence I’ve listed them in, because each one is influenced by the ones before it.
For our purposes, though, we’ll use a ‘standard’ action, which means the neck is fairly straight but with some ‘bow’, the nut height keeps the strings low but clearing the first fret, and the saddles are set so that the strings on the treble side are around 4/64″ and on the bass side as much as 5/64″, measured from the top of the octave fret to the bottom of the string, arching smoothly across the fingerboard.
Then, because this is a Stratocaster with a trem bridge, we’ll set the springs so that they provide a specific pitch shift when the arm is pulled up.
Once all these tasks are complete, we’ll move on to Part 4, setting the intonation. Let’s get into it!
Truss Rod Adjustments
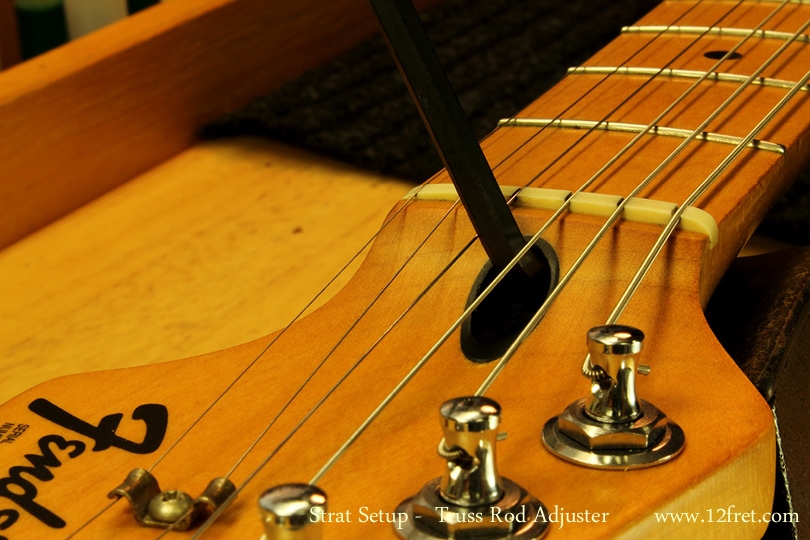
The truss rod serves to balance the effect of string tension and other factors like relative humidity on the length of the neck. Early instruments had no truss rod at all and this was followed by the use of fixed neck reinforcements. Until recently, for example, Martin guitars featured a fixed, square steel channel. However, most modern instruments feature adjustable rods that allow fine control over the amount of ‘bow’ or ‘relief’. On many acoustic guitars, the adjuster is hidden and accessed through the soundhole.
The basic guide is that the straighter a neck is, the easier it will be to play. But, the reality is that some amount of curvature or ‘bow’ is necessary because of the physical nature of string vibration. A perfectly straight neck will tend to rattle excessively when played. Also, the effect of any unevenness in the fret surface will become much more apparent. The exact amount varies depending on the instrument and the player.
So, we need to have some ‘bow’, and to get to the right amount, we start with installing the strings and getting them to pitch. This is the tension we will need to balance and we can start with measuring it, and none of the other settings like string height matter at this point.
The bow should be an even arc from the nut to wherever the neck attaches to the body; the heel block will provide so much stiffness that the arc will stop.
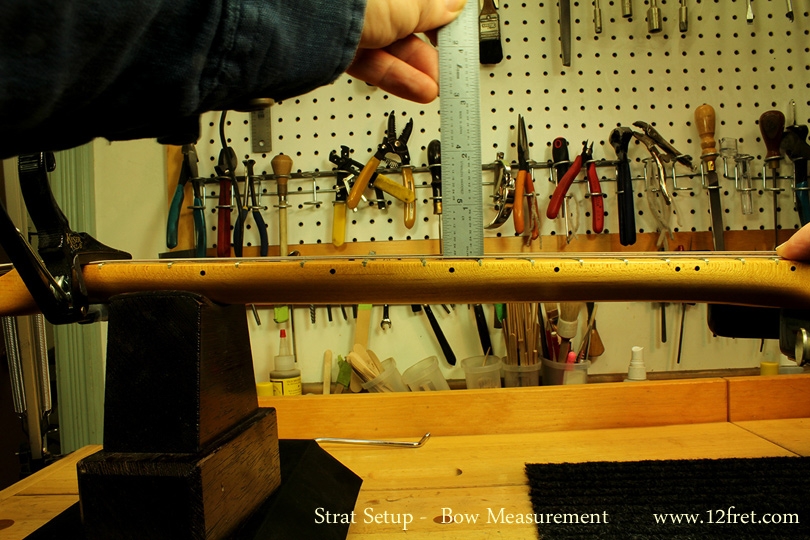
We can use the string as a convenient straight edge. Hold the string down at the first and ‘last’ fret – ‘last’ meaning to where the neck attaches and measure the distance between the top of the fret and the bottom of the string in the center of that length – usually around the 7th fret. In this case we’ll put a capo on the first fret to free a hand, then hold the other end of a string down, and measure.
NOTE: In these images, the guitar is on its back on a bench and this adds extra tension and more bow. In reality, the most realistic measurements are taken with the instrument in playing position.
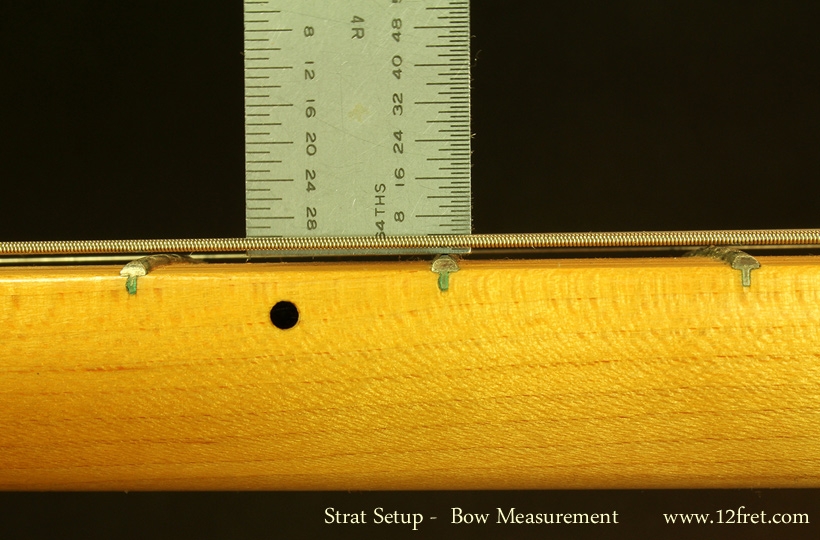
In this next, closer photo, we see that there is a little over 1/64″ clearance between the fret top and the string bottom.
After making an adjustment, flex the neck slightly to help it move. If there is a trem bridge, simply using the bar a bit is sufficient.
The adustment here is largely to taste, but you do need to be sure that you aren’t causing more rattling than is necessary.
Nut height
Nut height is a convenient and almost accurate term. What’s really important is the string slot in the nut, and how close the open string gets to the first fret. This height is affected not just by the depth of the slots, but also by the amount of neck curvature; the nut is at the very end of the arc and as the neck straightens, it moves “down” pretty quickly. Adding more bow can seem to raise the nut.
As with ‘bow’, the lower the string is, the easier it will be to play, but the easier it will be to make it rattle. If it’s too high, the string will stretch sharp too much and notes on the first few frets will sound sharp.
An easy way to judge the general nut height is to play a barre chord at the first fret and pay attention to the effort required. Now, pop a capo on the first fret, and play the same barre chord on the second fret. If it’s a lot easier with the capo, the nut is too high.
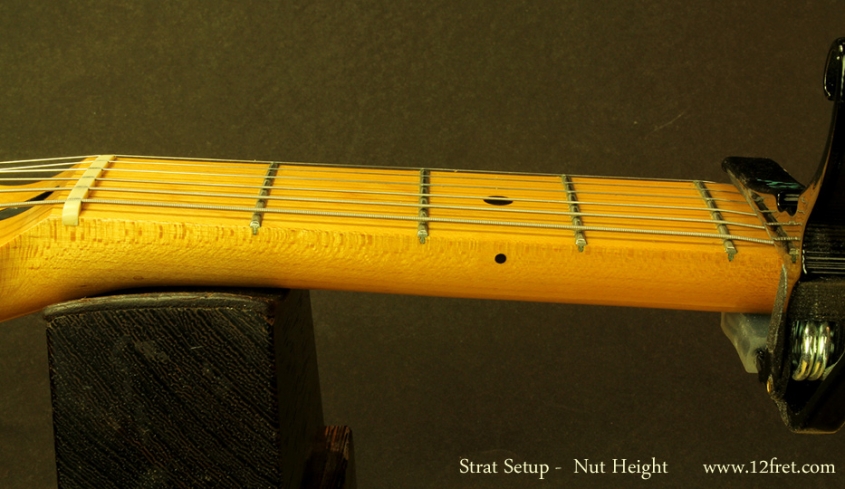
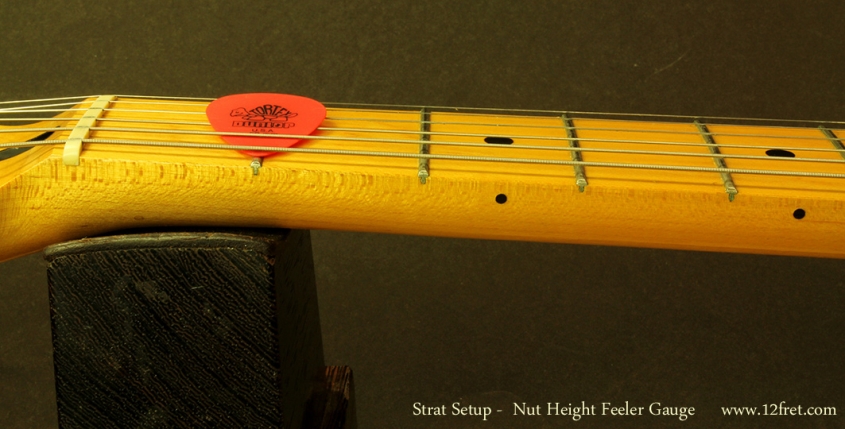
To demonstrate the nut height, we’ll put a capo on the 5th fret and look at the clearance between the top of the first fret and the bottom of the string. Or, you can skip the capo and use a thin pick as a feeler gauge on the open string. Here, we’re using a 0.5mm pick and it’s just damping the string.
If the height is off, skilled work with some specialized tools is necessary. It’s very easy to cut the slots too low, and if that happens they must be either filled or the nut removed and shimmed. Better to take the time and get it right!
Saddle Heights
Now we’re finally at the saddle heights. Again, these are influenced by the trussrod and nut height adjustments, so saddle heights are last. But, these adjustmens will also be affected by the changes we may make to the trem springs, so we will just do this roughly at first. We will then adjust the springs, and when that is done we can finalize the saddle heights.
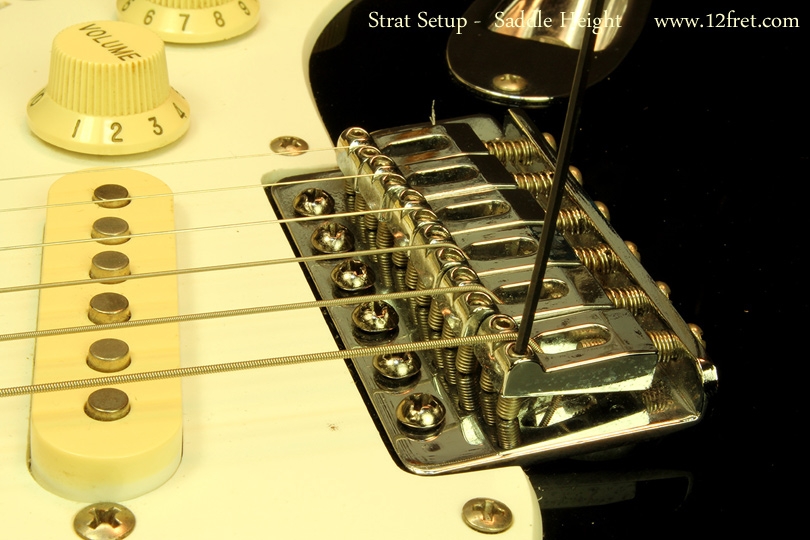
On a guitar with adjustable saddles like this Stratocaster, height adjustments are simple. First, measure the string height – the distance between the top of the fret and the bottom of the string – at the twelfth fret, the octave. Now, use use the appropriate allen key or screwdriver to raise or lower the saddle to the desired height. Repeat for each saddle, so that you get an even curve across the fingerboard. Typically, the lowest bass string are as much as 1/64″ higher than the top treble string, so if the high E is at 4/64″, the low E will be 5/64″ and the strings between will gently follow that arc.
To adjust guitars like Gibson or Gretsch products that use a Tune-O-Matic or bar bridge on a base or pair of studs, set the height using the outside pair of strings. Do check the inner strings in case the bridge has less curvature than the fingerboard; you don’t want the inner strings being too low.
Again it’s important to use the correct tool. This guitar uses metric hardware and the allen key is 1.5mm.
Trem Springs
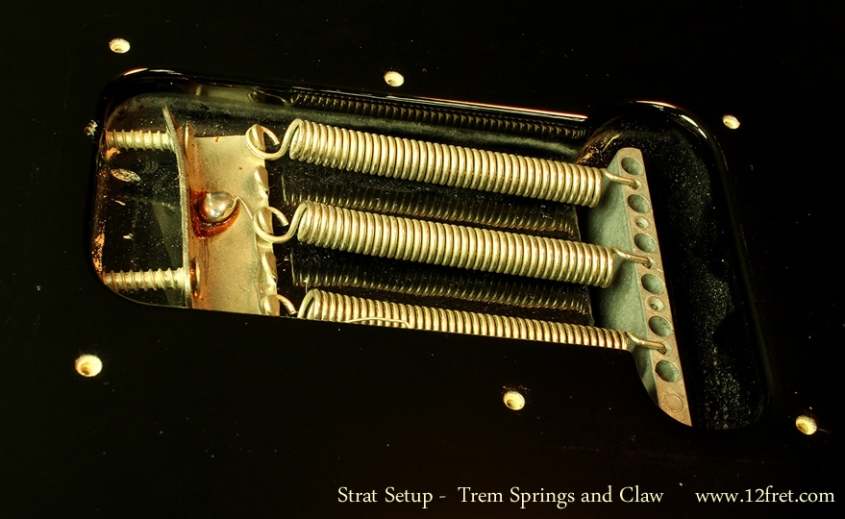
The original Fender Stratocaster trem design has three basic components – the bridge and block as a unit, the springs, and the claw that holds the springs.
Here we see two things. First, three of the five possible springs are installed. As this guitar is strung with light guage strings, .009 to .042, three springs are a good balance. Four springs could be used but at so low tension that they could fall off!
Second, we see one of the keys to keeping this type of bridge in tune – the claw is installed on an angle.
The bass side screw is in further than the treble, and this incredibly simple adjustment provides a tension imbalance that plays a remarkable and long-overlooked role in improving the tuning stability of the Fender Stratocaster floating tremolo bridge.
Play with this to find the best results for your personal instrument and style, but do try it!
The claw adjustment controls the spring tension, and that controls how much of a pitch rise is available from pulling up on the trem bar. A common and useful setting is to set the tension so that the G can pull up to an A#, which puts the B at C# and the E to F. Turn the two large Phillips-head screws holding the claw in to adjust the spring tension; you’ll then need to retune, and test the avaiable pitch rise. This process is not difficult but can be slow; sit down with an accurate tuner and take your time. Once set, it won’t have to be changed unless you change string guages.
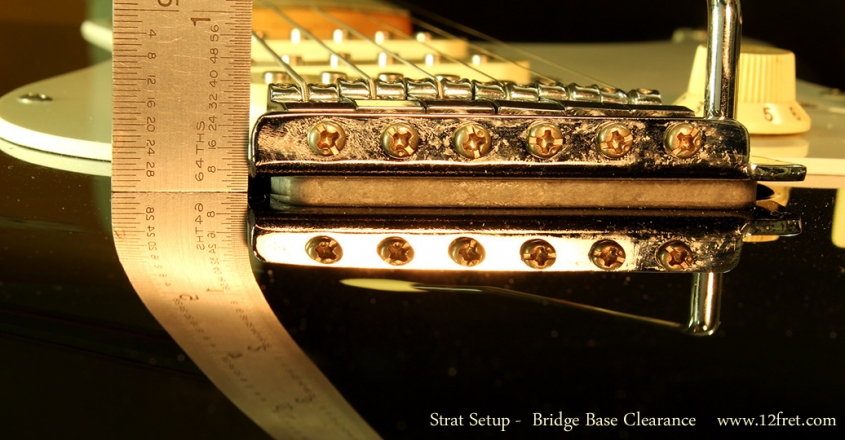
In this photo, we can see that the rear of the bridge is up about 6/64″, which provides the pitch rise listed above. However, go by the tuner, not the ruler!
When done with the spring adjustment, replace the back cover and finalize the saddle heights.
And now, we’re ready for the next step, adjusting the intonation, and the guitar will be ready to go!
