Setting Up A Fender Stratocaster Trem (Part 1)
Here we’re looking at a common issue and some ways to address it. This is, of course, getting a Fender Stratocaster guitar – with the original style vibrato bridge – to stay pretty much in tune even when using the bar. As well, we’ll look at setting up the bridge to pull the strings up specific intervals from its resting position.
First, it’s necessary to understand that the Fender Stratocaster vibrato bridge isn’t a part, or a set of parts; it’s a system, and if you only set up part of the system, the whole isn’t likely to work as intended.
We’ll state here that with a non-locking system, it’s possible to get very close to the ideal of perfectly returning to pitch, but there will be some small amount of drift – or really, two settling points – because of friction. Basically, there will be two balance points a cent or two apart; if you understand where these points are, a quick reflexive tap on the bar can put you back in tune.
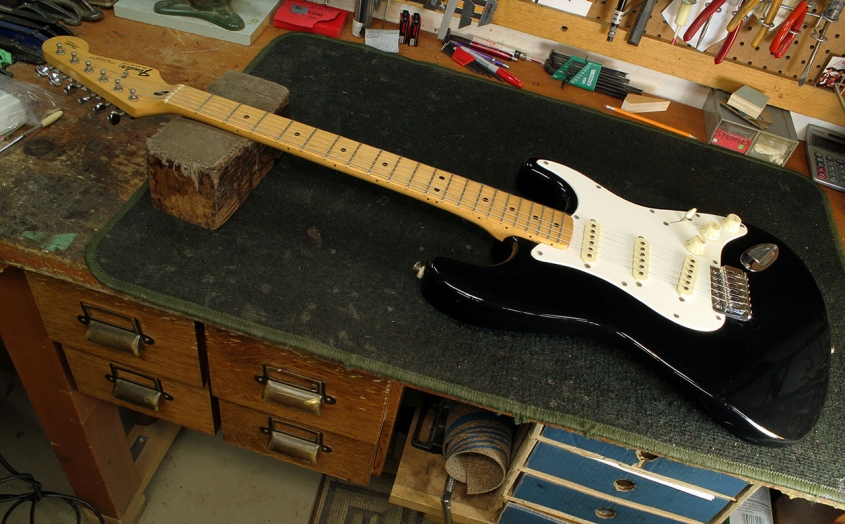
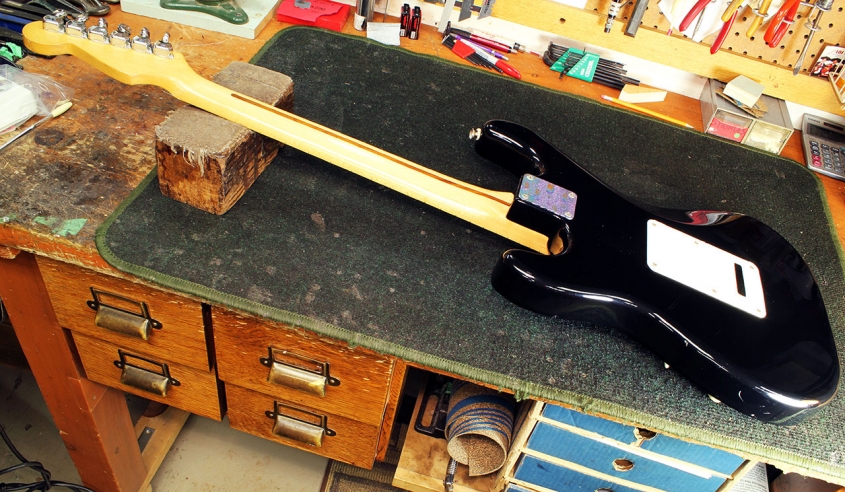
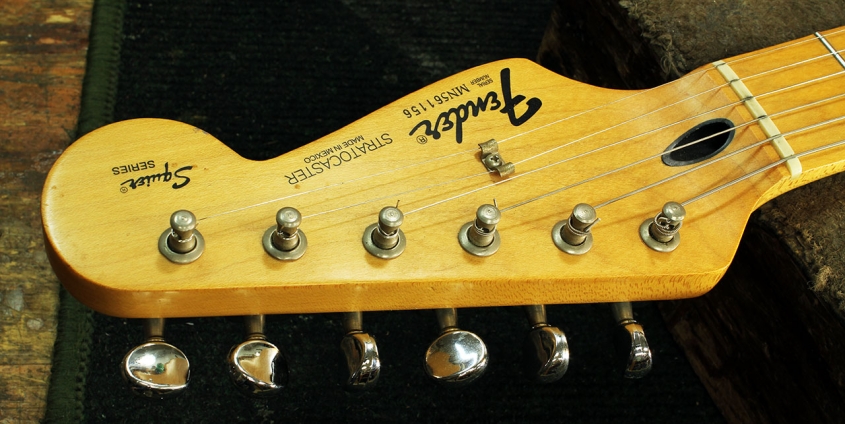
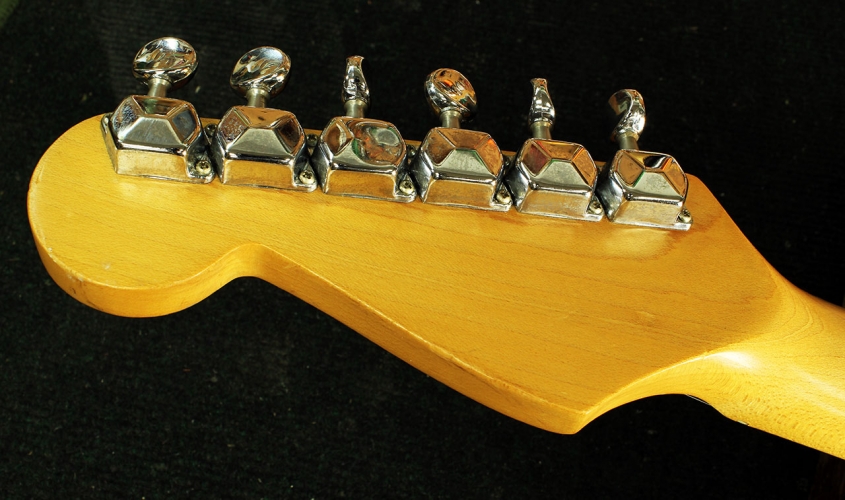
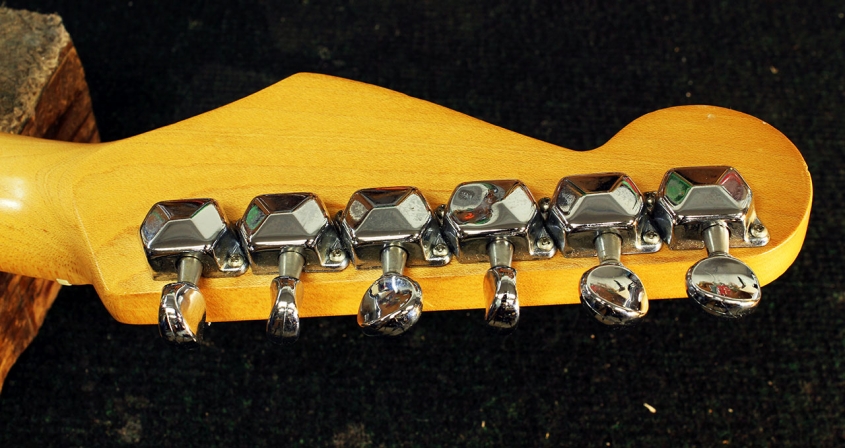
So, to begin, let’s take a look at the guitar itself. Here are a couple of shots of the guitar on the bench. It’s an ordinary Fender Squier Stratocaster, made in Mexico. This is an older model, given the type of tuners installed.
Next, we’ll look at specific components. On this guitar, the main components are the bridge itself – including the saddles (and their placement, for intonation), the springs, the claw, the bridge plate and the mounting screws – the nut, and the tuning gears. Pickups do play a part in tuning stability, but only in terms of magnetically interfering with the strings if they are too high.
Fender Stratocaster Bridge
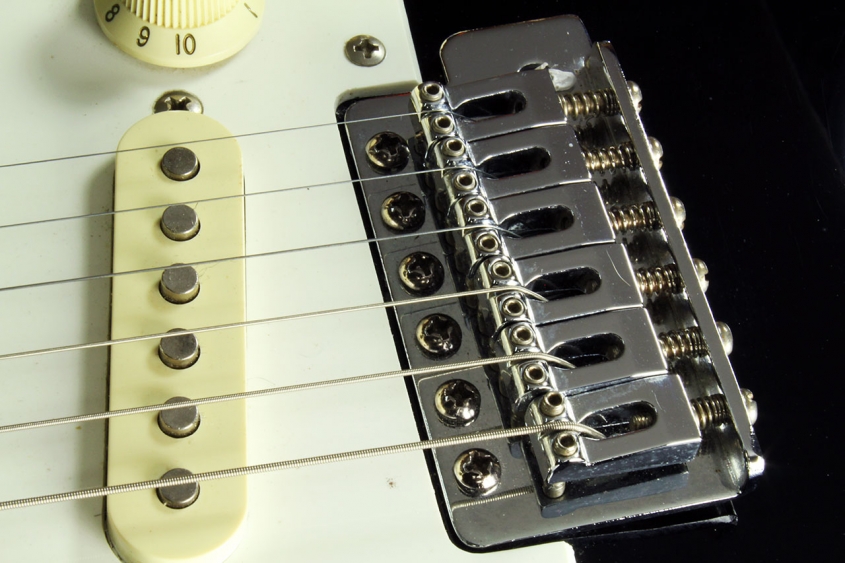
The bridge is the centrepiece of the vibrato system. It anchors the strings, supports the saddles that allow for action height and intonation adjustments, pivots on posts, and is balanced with springs.
Here’s the top of the bridge:
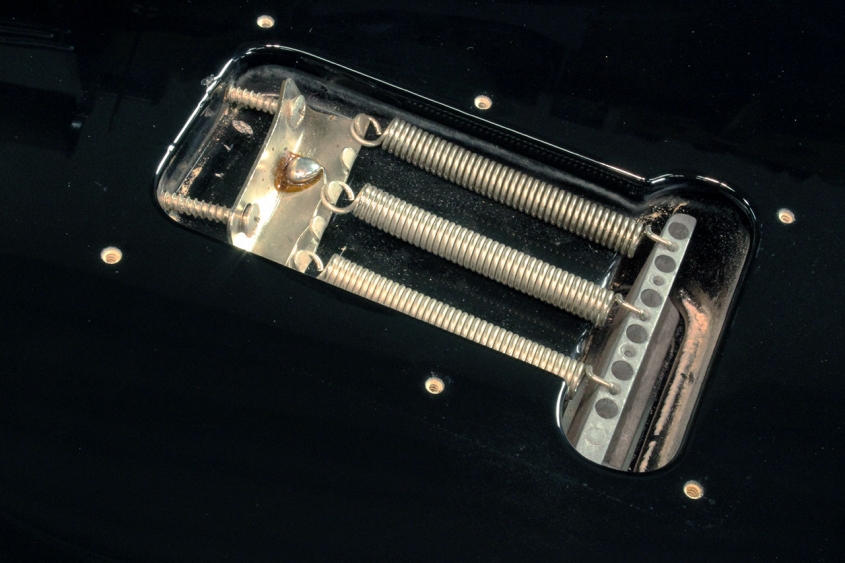
Here’s a rear view of the bridge; the back cover plate is removed to show the springs, the claw, and the string mounts. A few details:
- The cover plate screws are countersunk to prevent the finish from chipping when the screws go in and out.
- You can see the casting marks on the bottom of the block; this bock is cast, not machined as in older versions.
- The claw is angled. This is a trick that we’ll discuss a bit later.
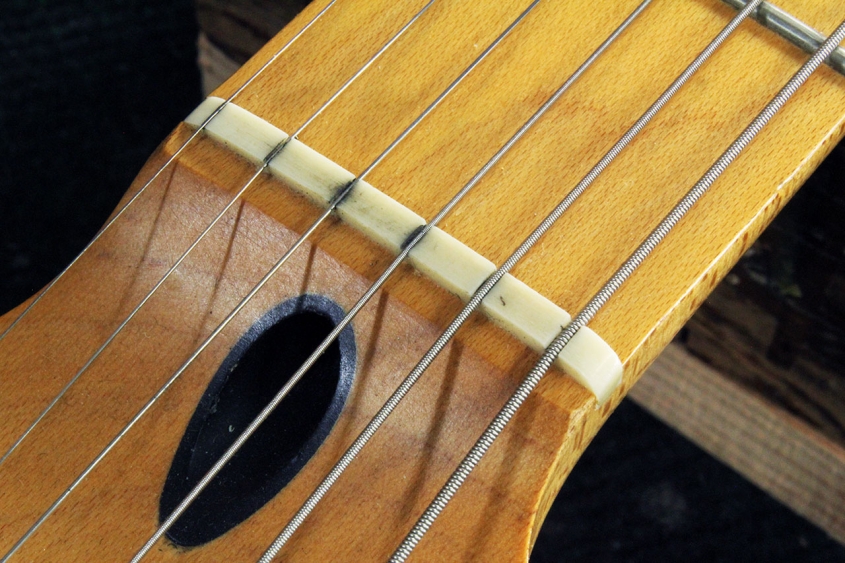
The Nut
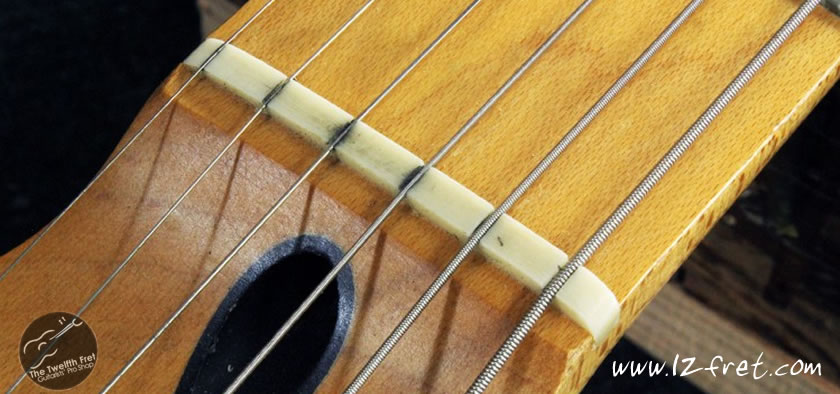
Then there’s the nut. While it seems a simple piece, a lot of the feel of the guitar and the tuning stability depend on it being properly cut and maintained.
There are two key spacings for the nut. The first is the side-to-side string spacing, and the other is the depth – or perhaps more correctly, the height of the nut slots relative to the first fret. The closer the strings are to the first fret as they leave the nut, the easier the guitar will be to play, but there’s a tipping point where open strings will hit the fret and just rattle uncontrollably.
A critical adjustment for the nut is fitting it for the gauge of strings in use, and then lubricating it. If the slots are too tight or too dry, there will be extra friction, the strings will bind in the slots, and pitch will not change smoothly. If you hear ‘pinging’ noises when using the trem or the tuning gears, at least one string is catching in the nut slot.
Tuning Gears
The tuning gears are one of the key elements, and because they may get used more often than other parts, they get the most attention – and blame, right or wrong, for tuning issues.
These particular tuners are original for this guitar, and while they do actually work fairly well, they are wearing, so there’s a bit more backlash in the gear meshing, and the guitar could benefit from installing newer and better tuners. And since we’re doing that, we’ll go an extra step and use a locking model.
Locking tuners are based on a standard geared design, but the added locking feature offers two benefits to vibrato systems. First, and this benefit extends to non-vibrato guitars, is faster string changes. The lock allows you to quickly release the old string, put the new one on and pull it tight, lock it, and tune to pitch without having to wind the strings around the post multiple times.
With locking tuners, the string may not even wind completely around the post even once, and this leads to the second benefit. When wound strings are wrapped around the gear post, the string windings settle against each other, rather like gear teeth meshing. When tension is released during use of the bar, it’s possible for the windings to settle in a different way, and this will slightly change the pitch when the tension returns.
Now that we’ve taken a general look at the guitar and what we might do, we’ll go on to part 2, where we’ll open up the guitar!
Click here to continue to Part 2.
