Welcome back to The Twelfth Fret’s Repair Shop!
We’re taking a tour of a Fender Stratocaster trem setup. In Part 1, we took a general overview of the Strat trem as a system, with a few details about the components.
Now we’ll take the strings off our sample guitar, upgrade to a set of locking tuners, clean up the bridge pivots and re-lubricate them; then put the guitar back together and string it up.
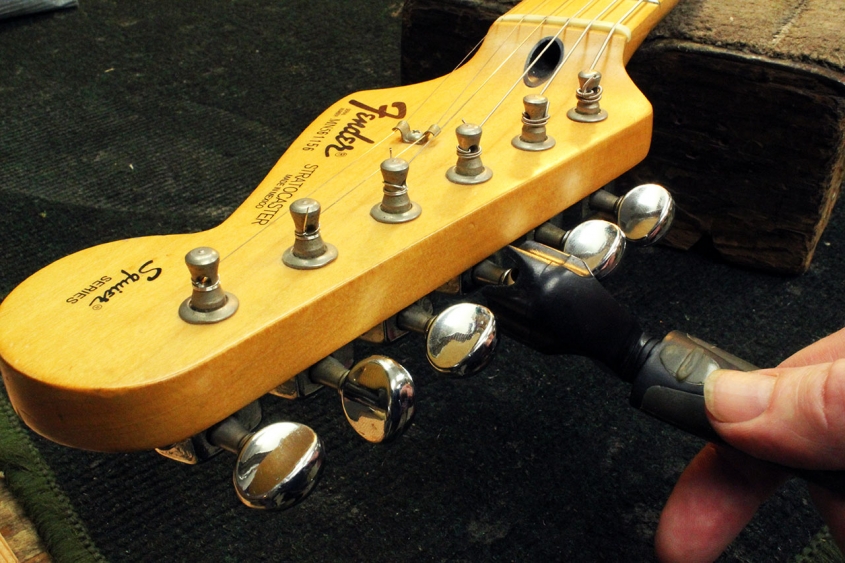
First off, we’ll use a string winder. This saves a huge amount of time by itself.
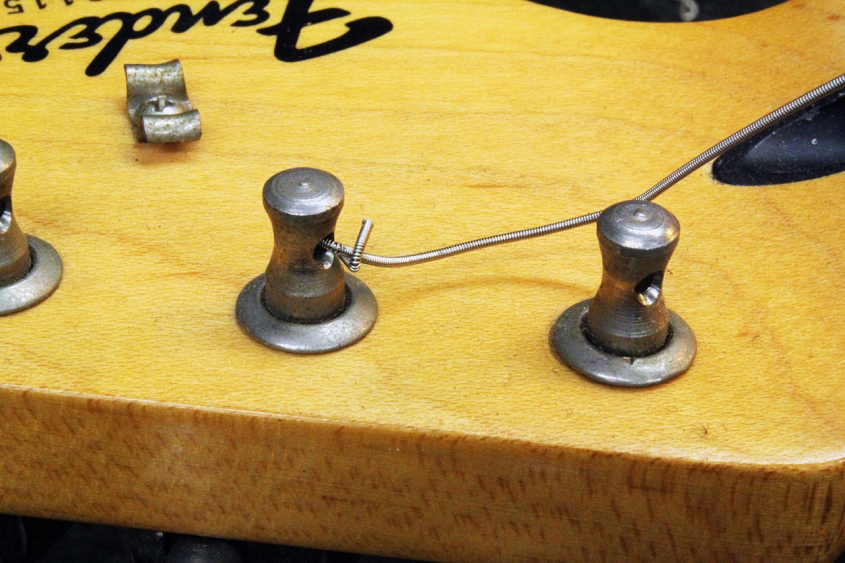
Here, while taking the strings off, we see a string anchoring knot. When installed, the string is wrapped backwards and under-and-over the string length; the idea is that this helps keep the string from slipping. This does work, but it also makes removing the strings a little bit slower, and on stage or in session, this matters.
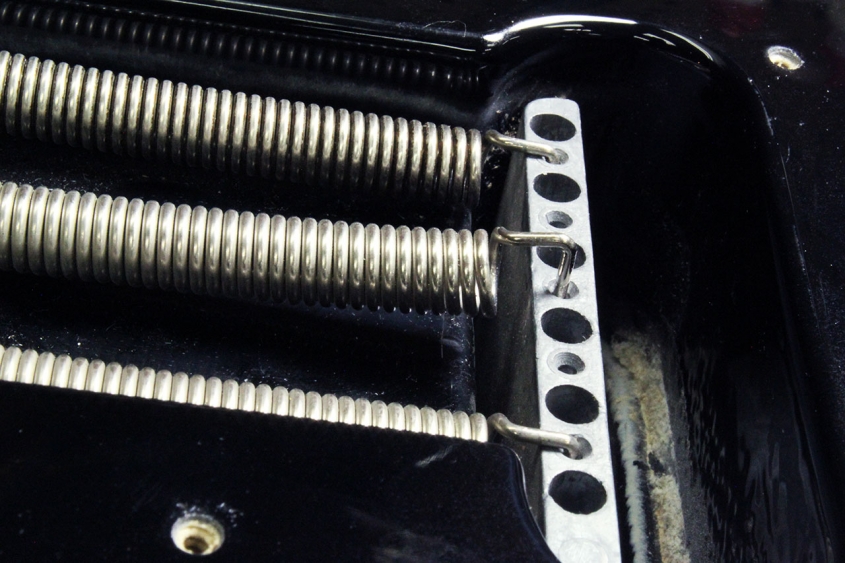
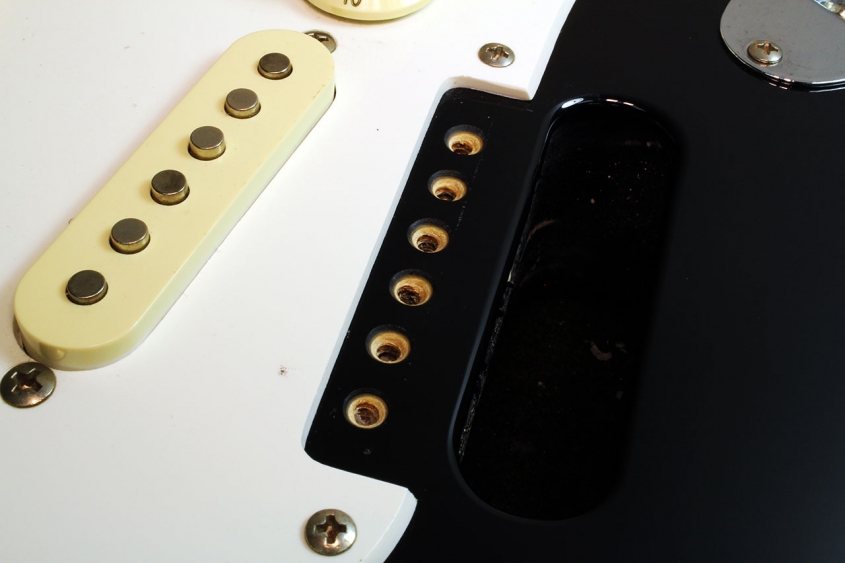
Now that the strings are off, since we’re going to clean up under the bridge, the springs come off; they slip into holes in the block.
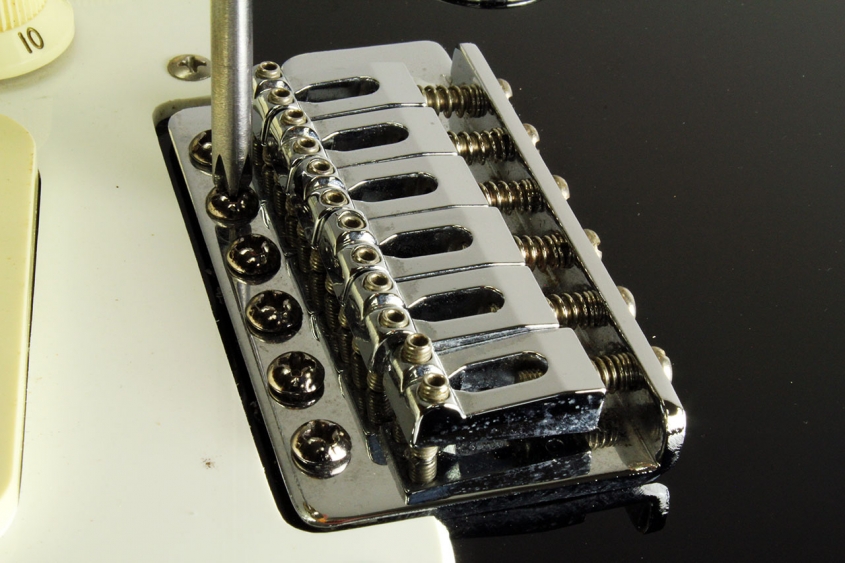
Turning the guitar over, the bridge screws come out. There is a correct tightness for these when we put it back together: they go in until the back edge of the bridge starts to lift, then back off slightly.
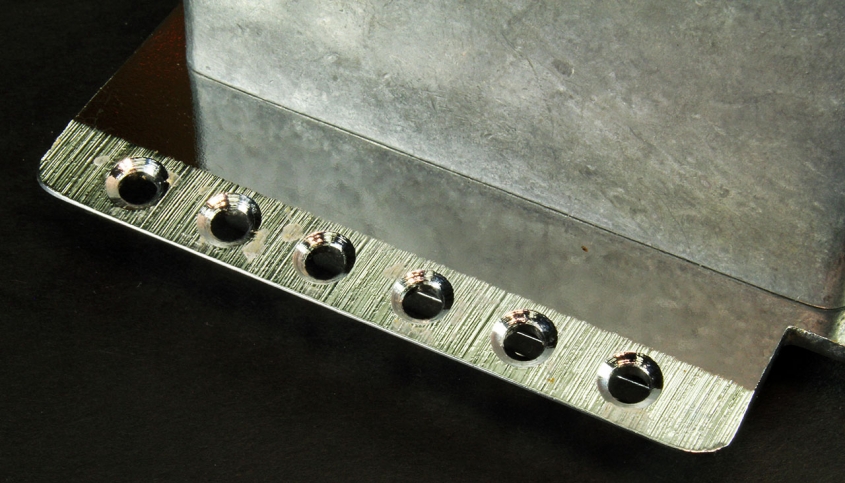
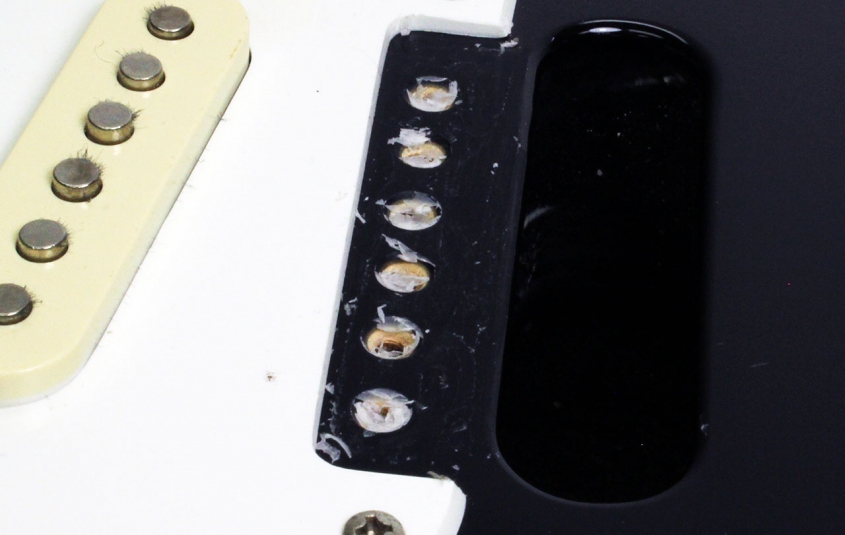
Now the bridge is off, and we can see that the six holes are evenly spaced, and as with the backplate screws we saw in Part 1, are countersunk to prevent finish chipping. And, we can see that the bottom of the holes through the beveled section of the bridge plate are also countersunk, but this is to make a narrower pivot surface and reduce friction. The original Leo Fender design had the bevel, but not the countersinking.
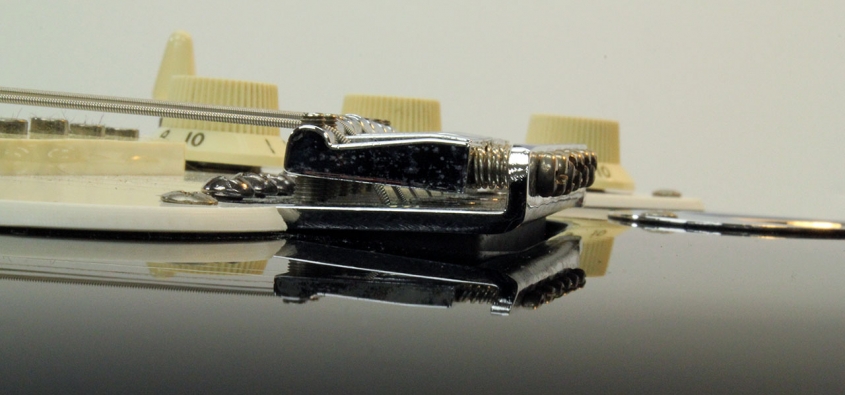
This is a limitation to that original design – no matter what, the bridge is going to have to try to pivot off a flat surface, and this is part of why the stock bridge settles in one of two places. Think of a car with heptagonal tires: when parking, the wheels will rest here, or here, but not in between. Newer vibrato systems address this by using hardened surfaces that can create knife edges with only one balance point.
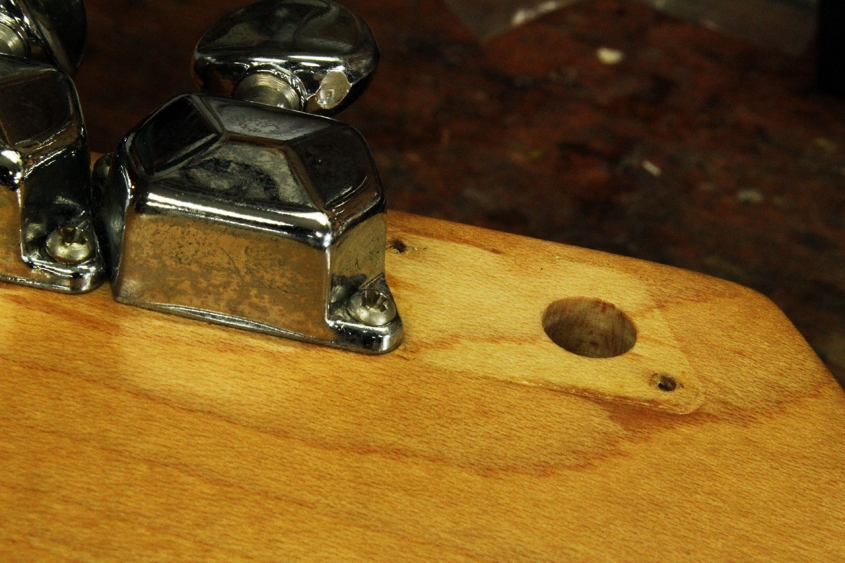
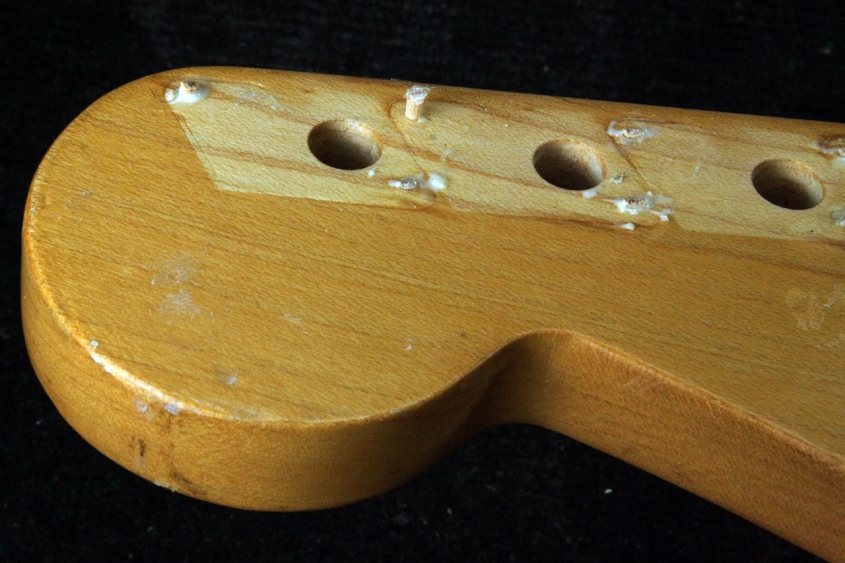
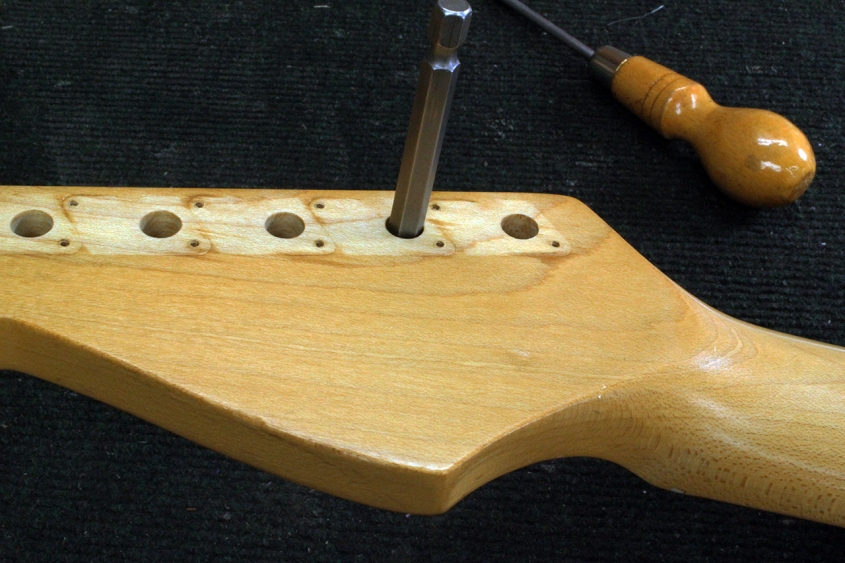
Since new tuners are going on… the old ones come off! All the old screw holes will be filled, because they won’t match whatever new ones are needed. The old bushings also come out, and they are carefully pushed out from the back.
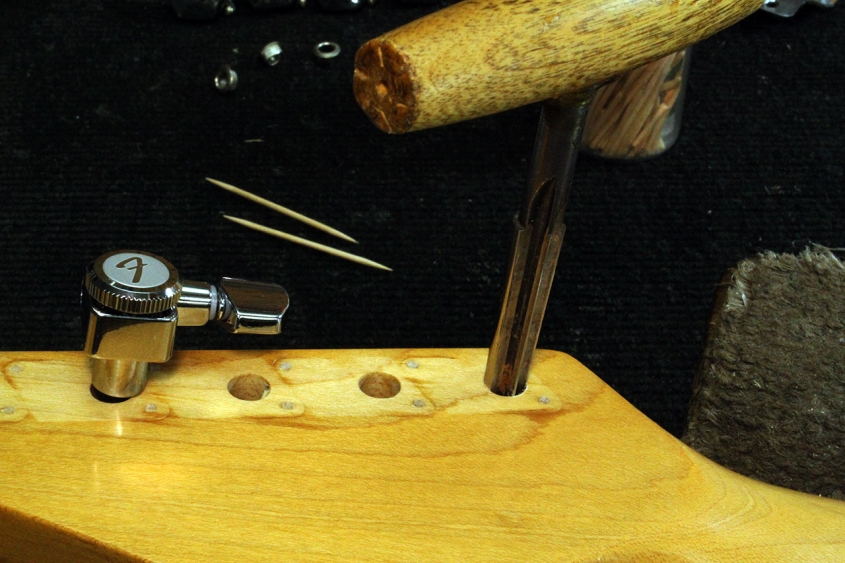
The new gear bodies are a little larger than the old ones, so the holes have to be enlarged. The safest way to do this is with a hand reamer or two. We’re using violin and cello peg reamers here; these have only a couple of cutting edges, the rest is polished round so the result is also round.
It is possible to do this with a drill press, but the setup time can be competitive with using the reamer. And it is also possible to use a hand drill, but there are risks with this; it’s easy to go off center or have the drill grab, twist, and damage your wrist or the work. The reamer is safest all round.
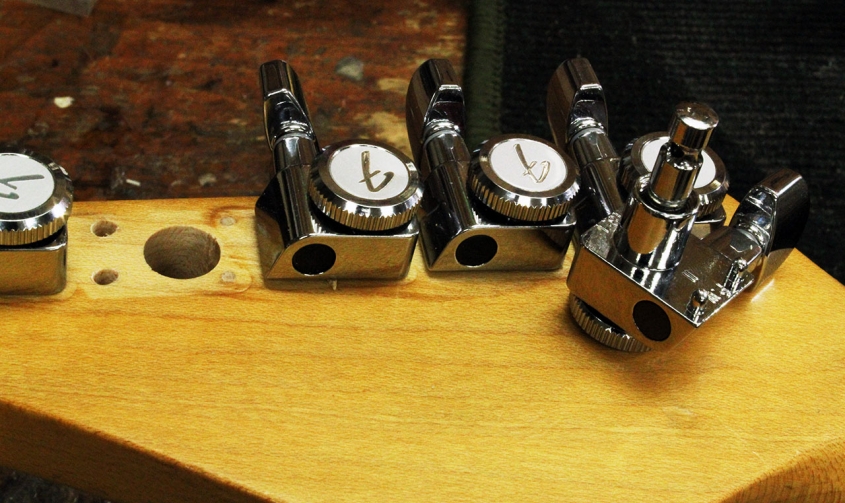
Next we need to line up the gears, tap down on them to mark for the locating pins, and drill the holes. Then the gears go in. Note that many locking tuners have staggered posts – the posts are different heights to keep the string angle low. In this case, there are two post sizes.
Now we’ll put the bridge back on, using some parrafin wax as a lubricant between the bridge base and the guitar top. As mentioned, the screws go in until they just start to lift the back of the bridge – then loosen slightly. Then the springs go back on, and we can restring!
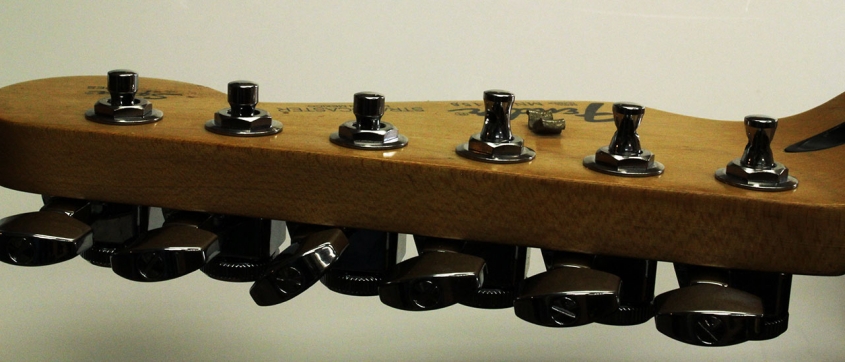
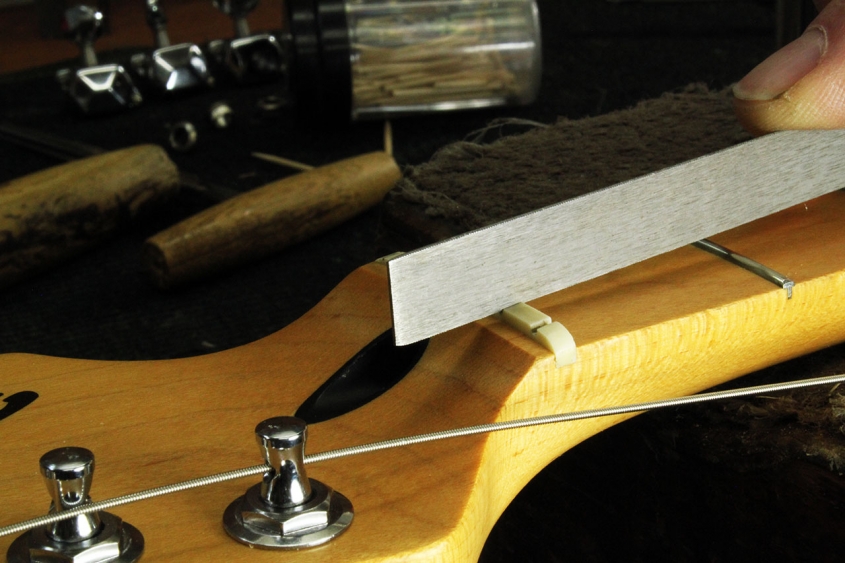
Finally, the strings go on. Loosen the locking screws, pull the string through the post hole, tighten the lock and tune up. When done, there’s hardly any wrap on the post. A quick pass with a nut file can be done if the strings hint at binding in the nut slots. Add a little Magic Lube or
other lubricant to the nut slots, string trees, and the posts, and we’re done!
So far, we’ve gone over the guitar, cleaned up the parts, and installed new locking tuners. In Part 3, we’ll actually set up the trem to float as smoothly as possible and pull up specific intervals.
Part 3 will be up soon.Click here to continue to Part 3, Action Adjustments..
You can preview our videos now on Our YouTube Channel!
You can now Visit our Facebook page!
